Cleaning and Maintaining Your
Firearms
Where To Work?
Apparently an often mis-understood concept. Only work outside if
your involved in field
operations and you have no choice. Avoid a cluttered up basement or
garage. Springs tend
to take off unexpectedly and always land behind a pile of rags or under
the lawnmower.
For the same reason avoid carpeted areas. If you don't have a place
set aside for your gun
cleanings the kitchen table is the most common backup, but before you
start dismantling your
gun for cleaning, try taking a wide roll of masking tape, or blue painters
tape and run it around
three sides of the table top to form a barrier wall to keep things from
rolling off the table and
into your heater duct.
Getting Started
Before you can properly clean your firearm you have
to be able to dismantle it. Just cleaning
the bore doesn't ensure that you will have a functioning gun when you pull
the trigger. Dirt,
debris, powder residue, dried up oil, twigs and small furry creatures
tend to collect inside
trigger housings, action tubes, bolt assemblies, forends and elsewhere, so
a proper set of
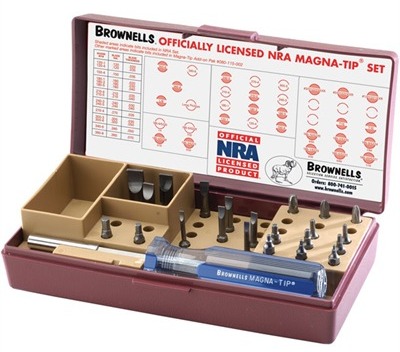
tools is a must. Firearms are assembled with screws and pins.
To avoid damaging screw
heads,
hollow ground
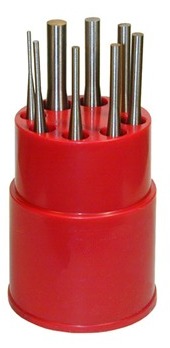
gun screwdrivers must be used. To remove pins a selection of
pin
punches are needed, including flat and roll pin punch sets. For the
screwdrivers I prefer the
magnetic tipped sets. If you damage or need to modify one
it's cheaper and easier to replace
and they take up less space than a complete set of individual
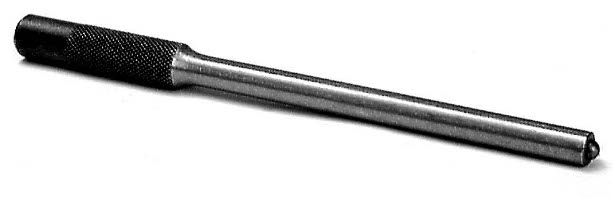
screwdrivers. Pin punches are
different. I prefer one piece, individual punches as they're
stronger than the type with the
replaceable ends, especially since some gun pins can be downright tiny.
A small brass
hammer is ideal for most pin removal. There are tool kits for
specific guns available
from
Brownells and other sources.
Digging Into The Project
Now that you've got the tools to dismantle your firearm let's get your
cleaning supplies together.
I love GunScrubber, but use it in a well ventilated area and wear safety
glasses. If it splashes
back into your eyes it can get real interesting. It's great for
blasting crud out of shotgun
receivers, trigger groups or assemblies that shouldn't be taken apart
except for repair. It
removes all traces of oil and dries without leaving any residue allowing
you to take your
toothbrush and scrub the area clean. Afterwards, use the cotton
tipped applicators to get
inside extractor recesses, firing pin holes, behind triggers or anyplace
else where a cleaning
rod just won't go conveniently. You'll soon discover that those
cotton tipped applicators
are going to be your favorite cleaning accessory.
Moving On
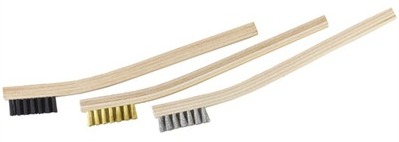
Stubborn areas filled with dried up grease may require a small wire brush.
I mostly use the
stainless steel bristles as they are stiff enough for hard use, but less
likely to scratch your
blued finish if you get a little too heavy handed. They also work
well for cleaning bolt bodies,
firing pins, magazine plugs, carboned up gas pistons action tube plugs,
and even dirty
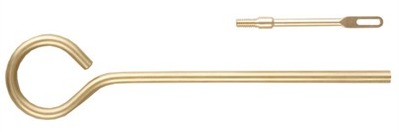
or rusting springs. To get into your magazine tube, action tube and
barrels, a multi-section
cleaning rod is the most versatile. If you only have a single gun
your going to be working on
than by all means get a caliber specific rod with precut patches, but if
your working on several
guns, or dozens of different types of guns like I do, then I prefer an
aluminum multi-sectioned rod.
The softer aluminum is safer on bores than steel, especially if you have a
rifle that you just
have to clean from the muzzle end. If you want to go the extra money
for a graphite cleaning
rod that's even better. In the shop I keep several different types
of cleaning rods at my disposal
and pretty much cut my own patches. A short nylon bristle brush is
handy for pistol barrels
and are available in every caliber.
For .22 caliber rifles and pistols I don't
use cleaning patches. I prefer the cotton tipped
applicators. They are perfectly sized for .22 caliber barrels.
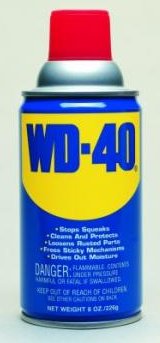
Remove the tip from your
.22 caliber cleaning rod. Spray some WD-40 onto the cotton tipped
applicator. Put the
applicator into the chamber (or muzzle if you must) and push it through
with your cleaning
rod. Repeat as necessary. The round cotton end of the
applicator doesn't miss a thing as it
fully engages the rifling. I don't even think about fooling with
those tiny .22 patches
anymore. In the case of handguns sometimes it isn't even necessary
to use your cleaning
rod as the applicators are plenty long. You can use Hoppes
solvent if you prefer, but some
people don't like the smell. While we're talking about .22 caliber
firearms remember that a lot
of .22 rimfire ammo is lubricated from the factory. This is
fine for your barrel life, but the
lubricant can build up inside your magazine where the bullet nose rubs.
The cotton tipped
applicators will fit right in there and remove the build up.
You can use WD-40 as in the barrel,
but use a clean applicator to remove the oil when your done.
You should generally avoid
using oil in your magazines. It collects dirt and can cause all
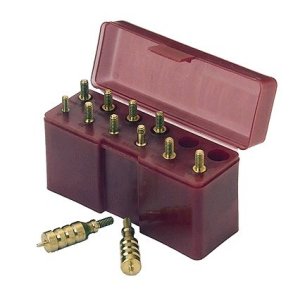
sorts of malfunctions. For larger
caliber rifles a patch with your favorite solvent can be put on your
caliber specific cleaning jag
and pushed through the bore from the breech end. Discard the patch
and wait a minute or so,
then run a dry patch through the bore. Repeat with new patches until
it comes out clean. For
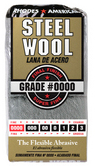
exterior use on a gun that may be showing signs of rust from being
neglected in the gun rack for
several years take some WD-40 and spray it onto a piece of 0000 Steel
Wool. You can
safely scrub the exterior removing light rust without fear of scratching
the finish. This trick
will also remove sticky residue left from safety notice labels or
camouflage tape that has been
removed. Do not leave the WD-40 on your firearm. WD-40 is a
fine general purpose oil, but it is
also a rust remover. Bluing is a controlled rust process and
depending on the type of bluing your
gun was given WD-40 can eventually remove it all leaving your gun looking
like dull, bare metal.
Wipe the metal dry and go over it with a Silicone cloth as described in
the
Finishing Up section.
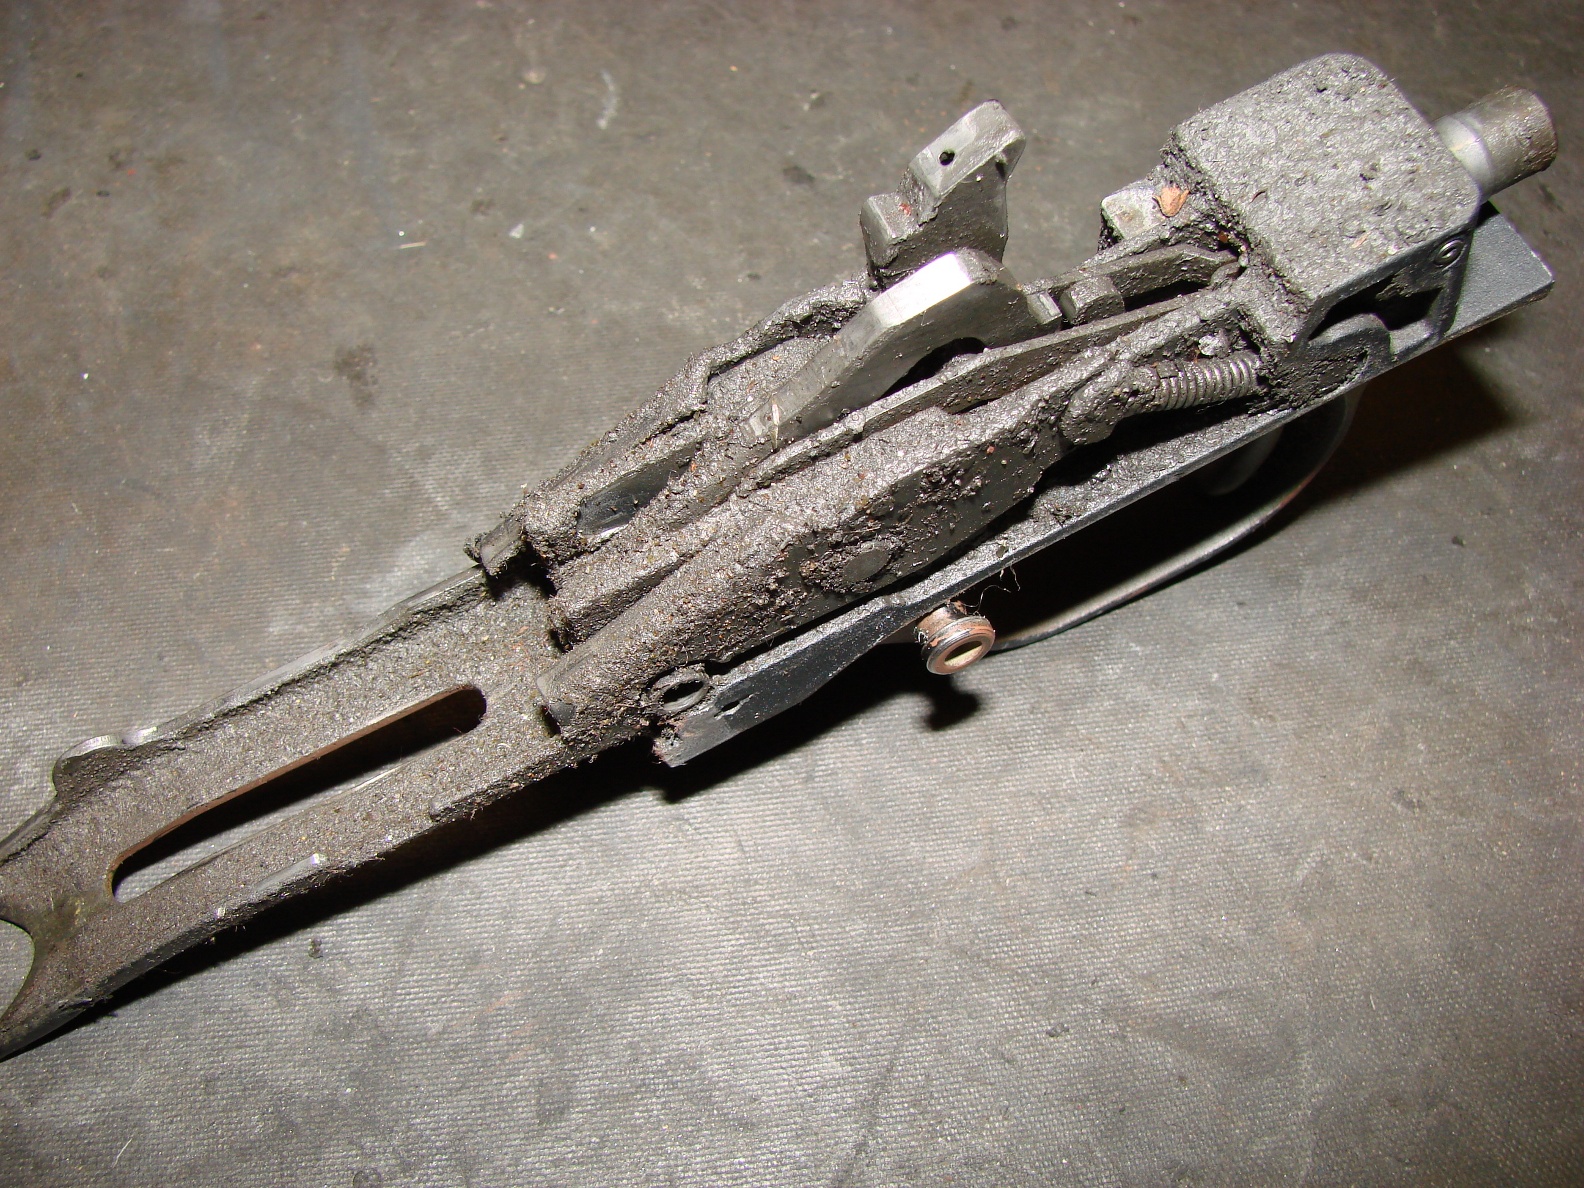
Specific Areas To Watch For
The picture below shows a trigger housing assembly from a
Beretta AL390 .12 gauge semi-auto
shotgun. This shotgun from the outside appeared to be in great
condition, however, in its many
years of hard dependable service it was never cleaned. This
looks to be a classic case of
spraying oil into the receiver and putting it away until next season.
This over oiling collects
crud and it builds up year after year until it looks like this. If
the stock of this Beretta had been
wood instead of plastic the oil would have soaked into the stock and split
it at the area just
behind the receiver. Under normal circumstances this
trigger assembly could be taken to a
well ventilated area, blasted clean with Gun Scrubber, allowed to dry,
scrubbed with a clean
toothbrush and then blown out with a can of compressed air to remove any
remaining particles.
Always be careful that no small parts are knocked loose when doing this.
We don't want
you to lose anything valuable. This particular trigger
assembly is going to have to come
completely apart and each sub-assembly will be cleaned and examined
individually for damage.
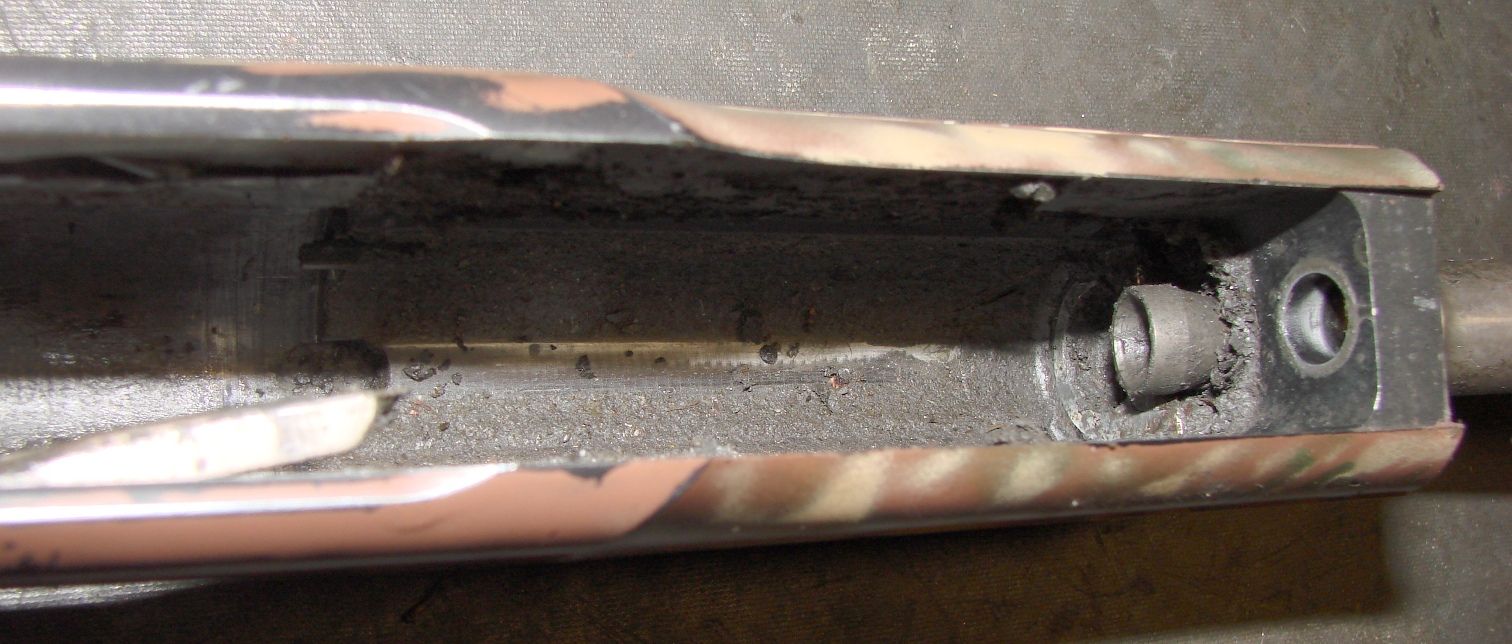
The following picture is the inside of the receiver that this trigger
assembly was removed from.
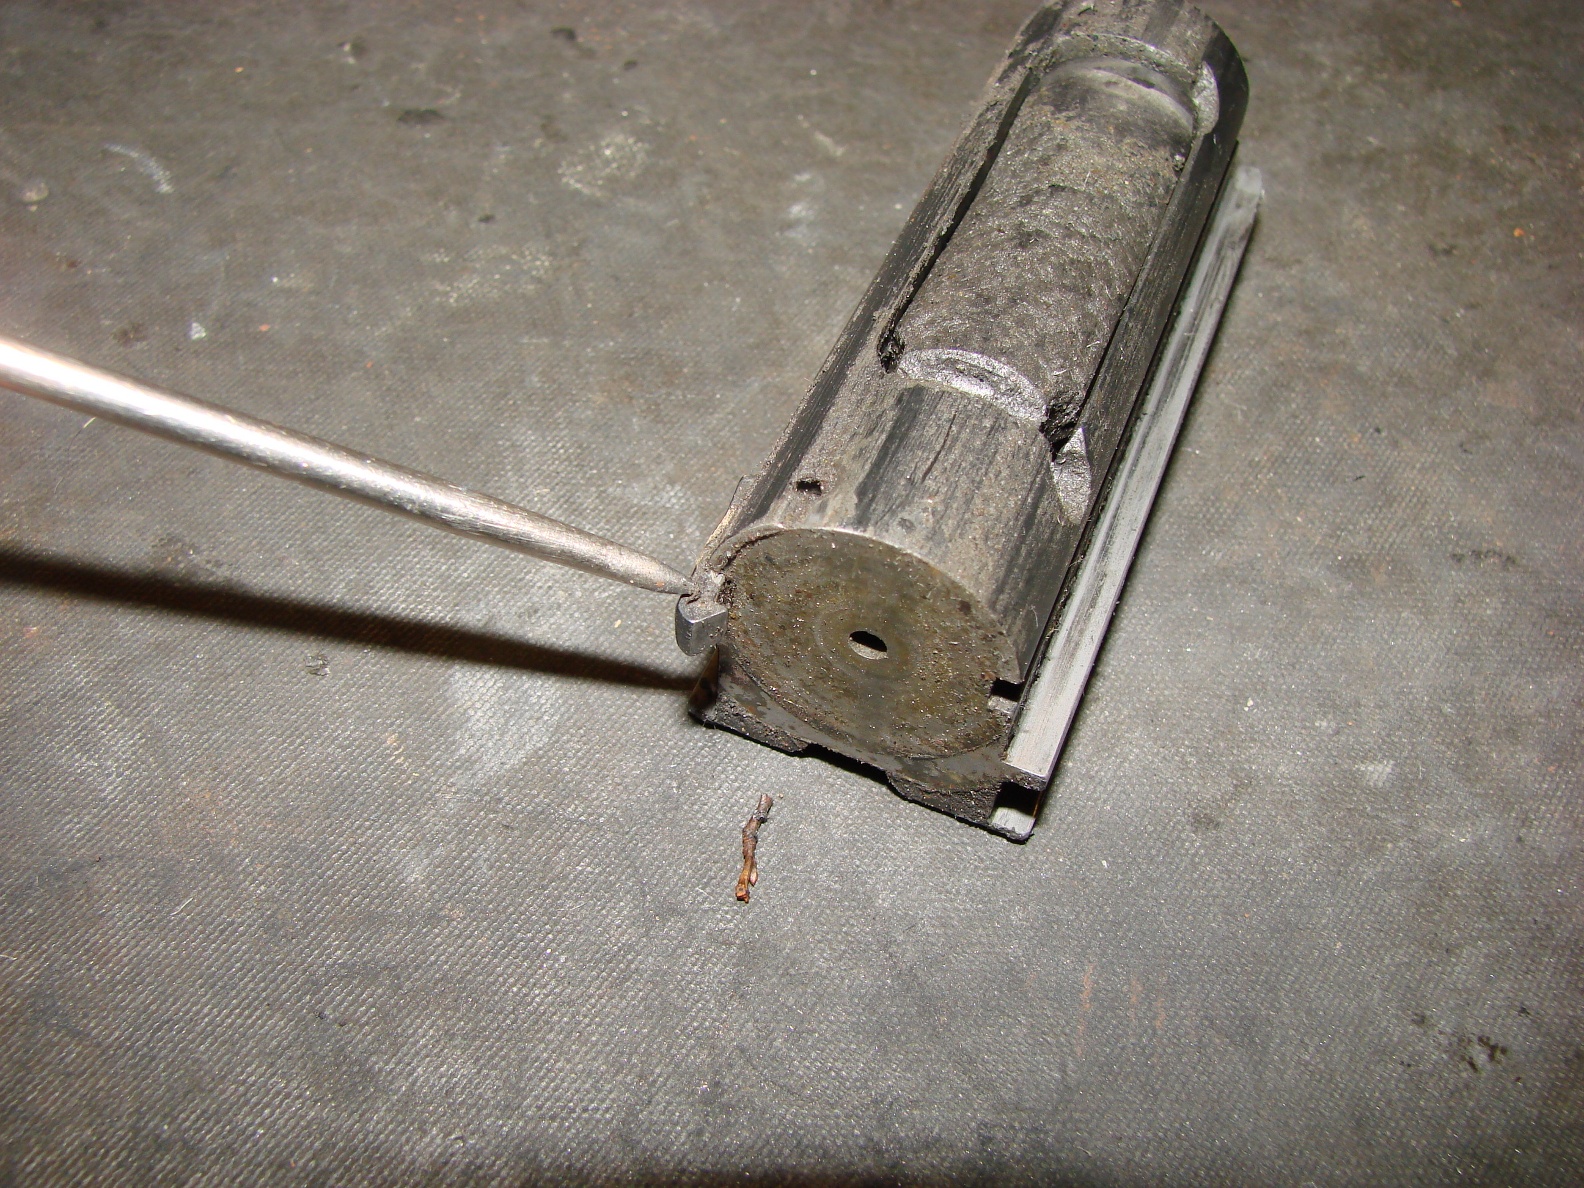
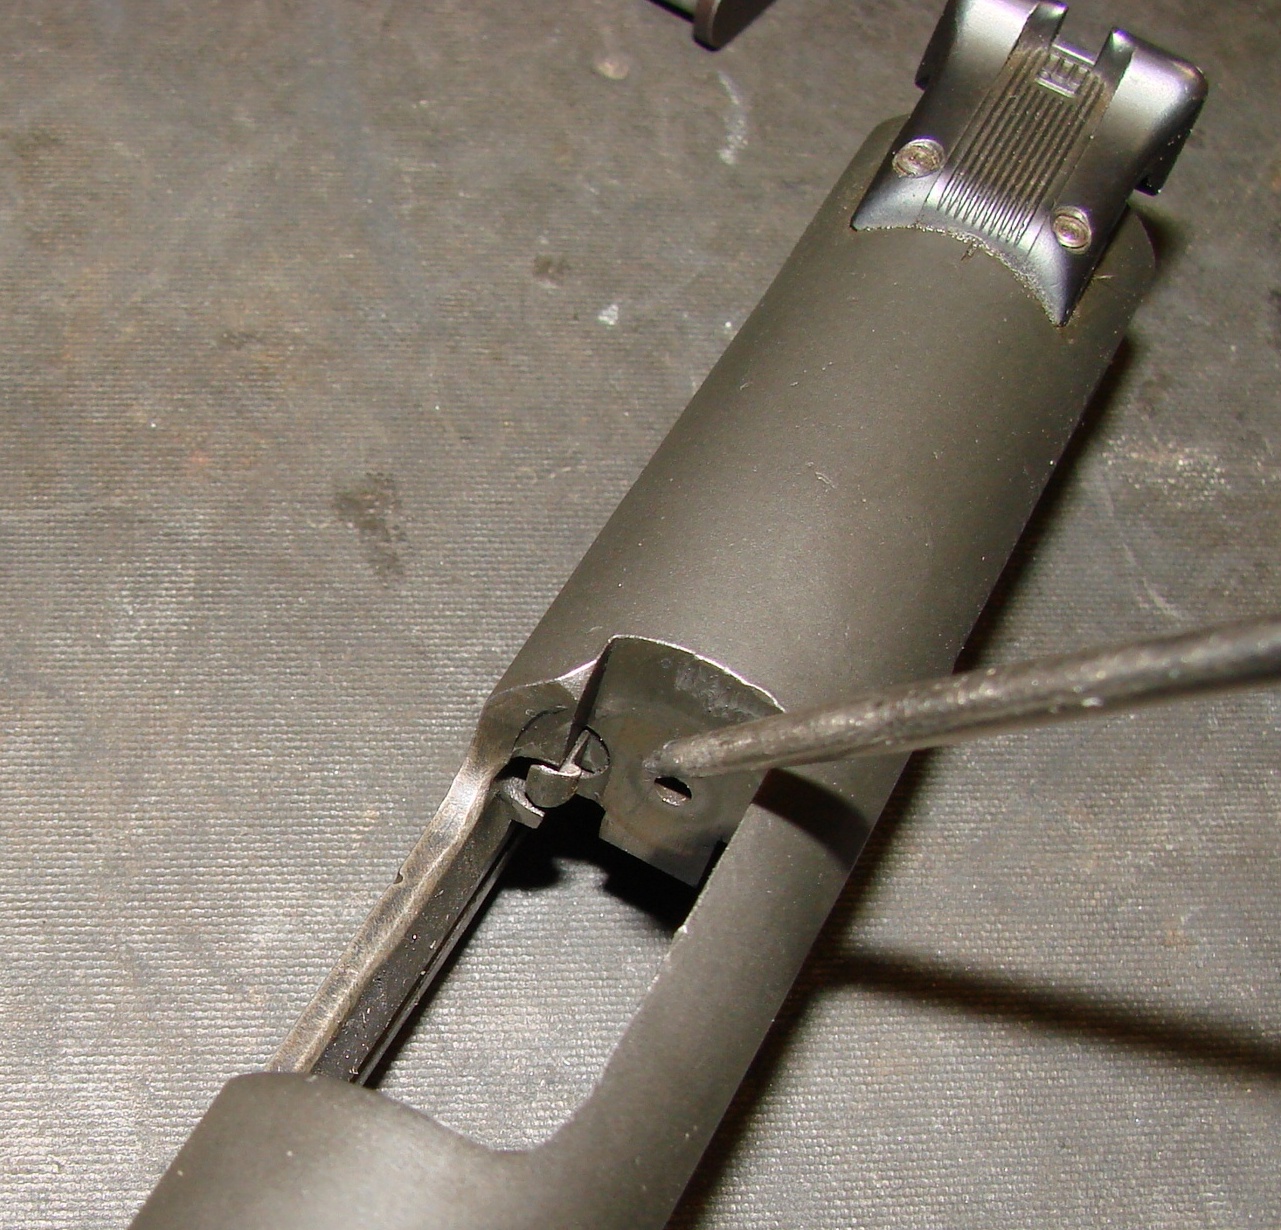
This picture shows the bolt assembly from the same Beretta
shotgun. The scribe is pointing
to the extractor. A critical part of all firearms. (Note the
piece of stick that fell out of the
firing pin hole in the center of the bolt face.) If this area gets
built up with dirt it can cause
several types of jams including preventing the gun from firing at all.
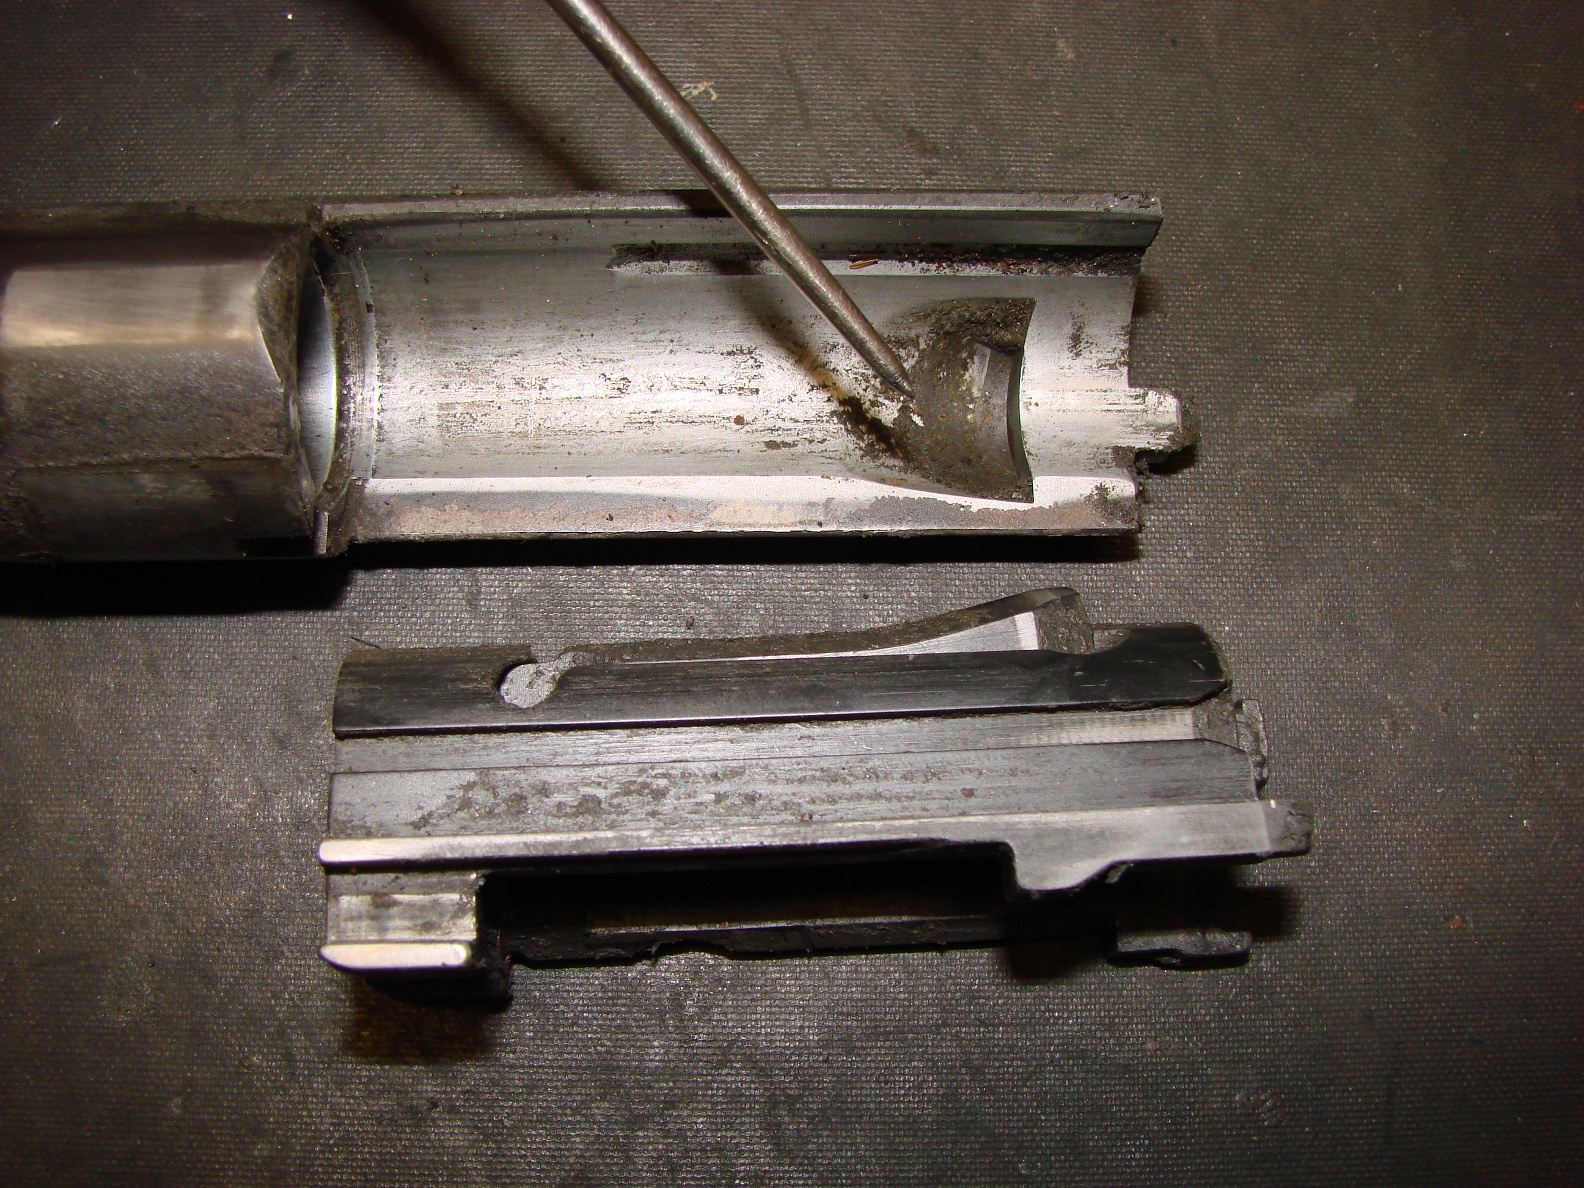
In the center of the
bolt body is the breech block. This block engages with a notch
in the barrel as shown in the
next image. It must be kept clean or the bolt may not lock up
completely and can keep
the gun from firing.
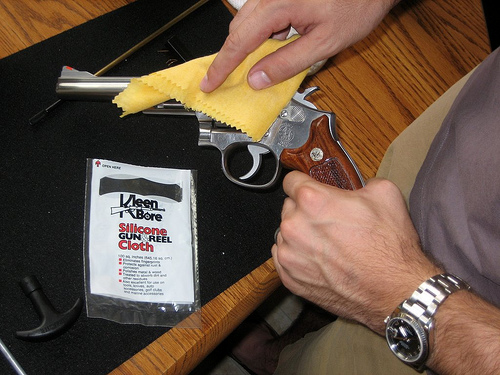
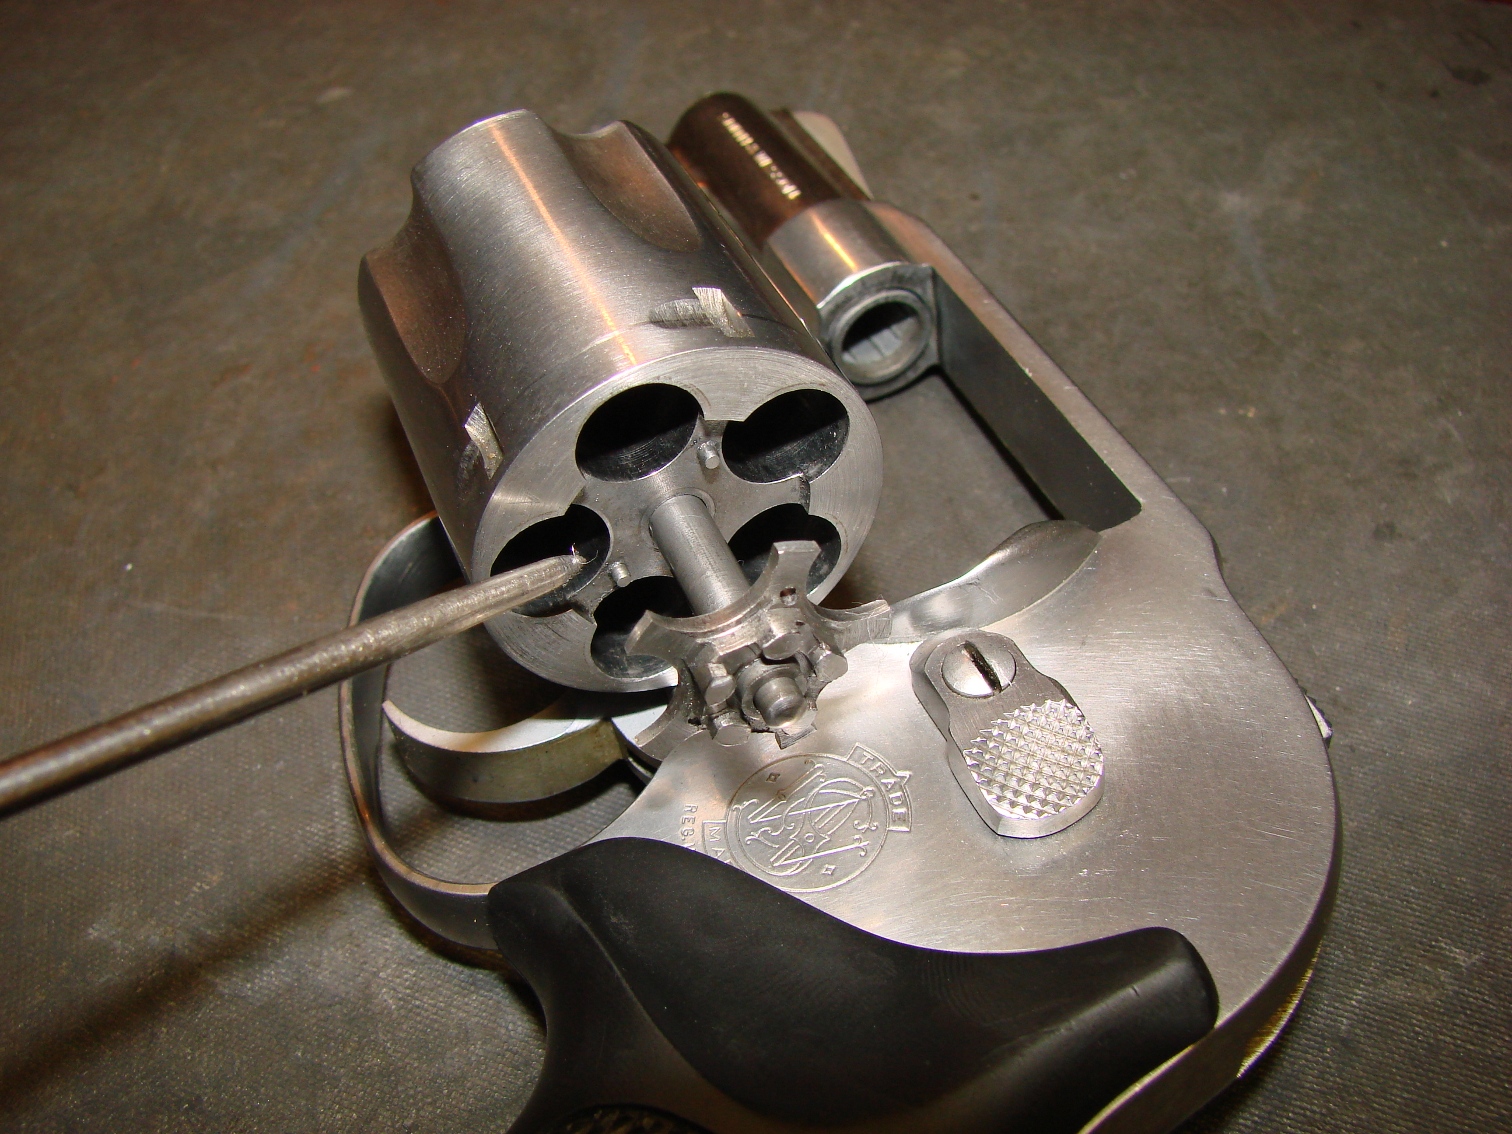
Pistols and revolvers, especially carry size ones like this
S&W 649 , should be oiled very
sparingly if at all. Guns carried on your person, in a pocket or
purse will pick up an
amazing amount of lint and dirt and cling to the oil causing all sorts of
embarrasing moments,
some of which could be life threatening. In the case of revolvers as
the picture below shows,
the extractor (the star shaped part) and its recess where the scribe is
pointing must be kept
clean or it can cause your cylinder to bind and jam when you try to pull
the trigger or cock the
hammer. There's nothing here to lubricate so there's no need for oil
here. For Ruger
revolvers the company warns not to put any oil in that area at all or it
can cause this problem.
If your not comfortable dismantling your revolver for a thorough cleaning
resist the temptation
to stick a spray nozzle tube into the trigger slot and fill your gun with
oil. That's a malfunction
waiting to happen. Better to give it to someone who knows the take
down procedure to clean it for
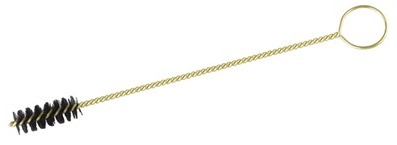
you. The
bristle brush mentioned in
the tool section can be used to clean out your bore and
chambers for a quick cleaning after a range session, but you should clean
your bore out with
solvent at the earliest opportunity.
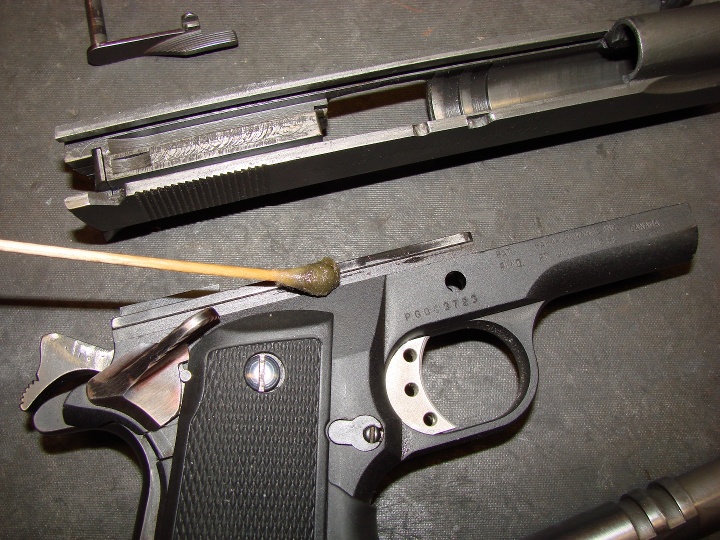
In the case of pistols like this ParaOrdnance P14 .45ACP pictured below
you'll want to
pay particular attention to keeping the slide rails clean and lightly
oiled. For the receiver
at the bottom and the upside down slide above it I use the
cotten
tipped applicators
dipped in
Tri-Flow lube to do this.
Apply sparingly to both the receiver and the slide rails
with a little on the long flat area of the slide at the rear. This
area rides over the
disconnector depressing it as the slide cycles rearward preventing the gun
from slam
firing or going full auto. Again pointing to the extractor in the
next photo, keep this
area clean. Your
M16 toothbrush will help
here.
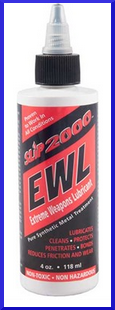
Once your gun is cleaned and ready to go
back together your going to want to apply some oil
at strategic points. My favorite is Slip2000. It's not a
Teflon based lubricant, but has
remarkable staying power that repels moisture and dirt. I've been
using it for a few years on all
my handguns and long guns with great
results. Apply it sparingly to all contact surfaces.
Most guns require very little lubrication.
After your gun is reassembled wipe it down with a
silicone cloth to remove fingerprints.
Some fingerprints can leave permanent marks on a blued
surface. The silicon cloth can be
used to wipe down your entire gun including wood or plastics.
You should make it habit to wipe your guns
down anytime you or someone else handles them
before putting them away. After you
put your gun(s) away the very most important thing to do
to keep them in a ready condition is this:
Don't neglect them !
Take your guns out of storage every so often and look them over, then wipe
them down with your
silicone cloth before putting them away. This helps to stop
deterioration before it starts.
Useful Links for Gun Care and Accessories